
Back in 1995, the world witnessed a revolutionary moment in animation history with the release of Toy Story, the first-ever full-length 3D animated film. What was once an exclusive craft for high-powered computers and expert animators has now become accessible to anyone with a laptop, thanks to powerful software like Blender animation.
Getting Started with Blender Animation
If you have a passion for sketching or creating 2D art, diving into the world of 3D animation can be a game-changer. From video games to film production, 3D art is everywhere, making it an essential skill for anyone looking to expand their creative horizons. Mastering Blender animation not only enhances your artistic abilities but also adds a valuable asset to your professional portfolio.
Adding Your First Object
Whether you’re exploring 2D or 3D animation in Blender, the first step is to add an object to your scene. By selecting “Add” from the menu bar, you can access various options. The “Mesh” function is a great starting point for beginners, offering basic shapes like cubes and spheres to experiment with.
Understanding the Viewport
The viewport is your main workspace in Blender animation, where all your objects come to life. Navigating efficiently within the viewport is essential. Using a three-button mouse can significantly improve your workflow:
- Click and hold the middle mouse button to rotate your view.
- Hold Shift and click the middle button to pan.
- Scroll the mouse wheel to zoom in and out.
- Alternatively, the navigation gizmo in the top-right corner allows you to move around without a mouse.
Essential Tools for Blender Animation
Blender comes with a suite of tools to make animation intuitive and seamless. By pressing “T” on your keyboard, you can access the toolbar, which allows you to move, duplicate, and delete elements. Among the most frequently used tools is the Move tool, which controls the position of objects along three axes:
- X-axis (red)
- Y-axis (green)
- Z-axis (blue)
You can also rotate and scale objects to modify their shape and position dynamically.
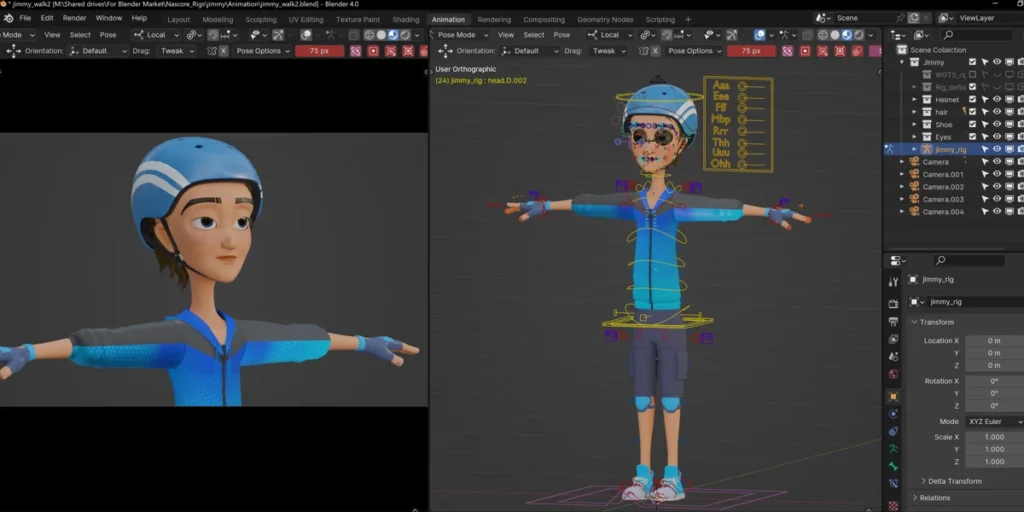
Object Mode vs. Edit Mode
In Blender animation, two primary modes govern how you interact with objects:
- Object Mode: Used for selecting and positioning objects.
- Edit Mode: Allows detailed modifications such as sculpting and reshaping objects.
Switching between these modes using the TAB key unlocks new tools for advanced editing and customization.
Understanding 3D Mesh Structures
A Mesh is the foundation of 3D objects in Blender, consisting of:
- Vertices (points where edges meet)
- Edges (lines connecting vertices)
- Faces (flat surfaces between edges)
Edit Mode allows you to manipulate these elements, changing the structure and form of your models to fit your creative vision.
Enhancing Your Blender Animation with Colors and Textures
Objects in Blender initially appear gray, but you can apply materials and colors through the Materials Panel. Here, you can:
- Add new materials.
- Adjust reflectivity using Roughness.
- Control the shine with Metallic settings.
Experiment with different color palettes and textures to bring your models to life.
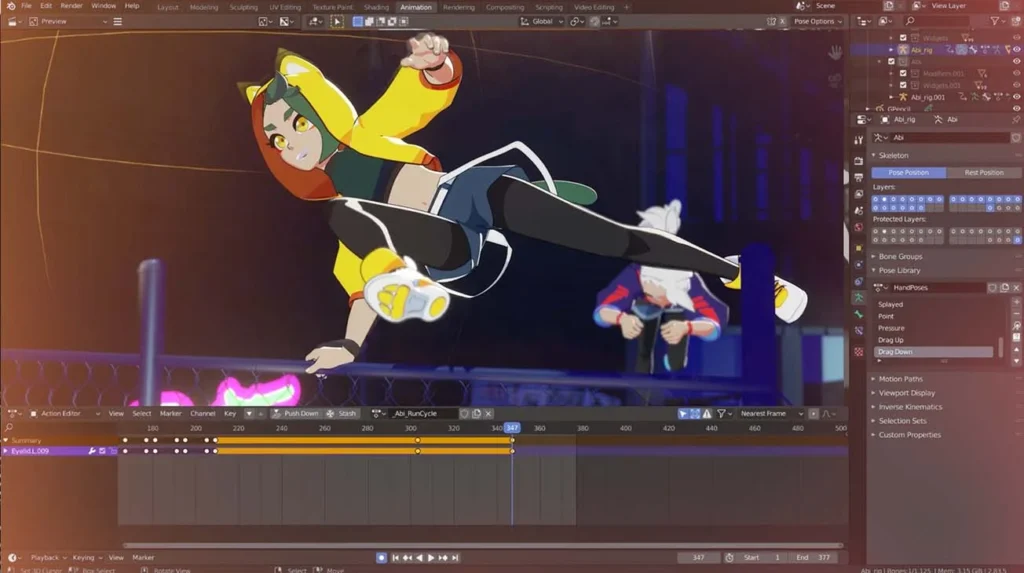
Bringing Objects to Life: Keyframe Animation
Animation in Blender revolves around keyframes, which store an object’s position at a specific time. To create movement:
- Select your object.
- Press “I” to insert a keyframe.
- Choose attributes like Location, Rotation, or Scaling.
- Move forward in the timeline and set a new keyframe.
This process creates a smooth transition between frames, allowing objects to move naturally.
Exploring Blender 2D Animation
While Blender is primarily known for 3D animation, it also supports 2D animation through the Grease Pencil tool. To start a 2D project:
- Open a new 2D Animation file.
- Use the Grease Pencil to sketch your drawings.
- Add keyframes to animate your sketches.
This feature is perfect for artists who want to blend traditional drawing techniques with digital animation.
Mastering Blender Animation Takes Patience
Creating professional-quality animations takes time and dedication. Even Toy Story required 800,000 machine hours to complete! As you navigate Blender animation, focus on small, incremental improvements. Spending just 15 minutes a day experimenting with Blender can lead to significant progress over time.
By understanding the fundamentals of Blender animation, you’re taking the first steps toward mastering one of the most powerful tools in the animation industry. Keep practicing, stay patient, and soon enough, you’ll be creating stunning animations of your own!
Conclusion
Blender animation is a powerful and accessible tool for beginners and professionals alike. From creating 3D models to animating 2D drawings, Blender provides endless opportunities for artistic expression. While mastering Blender takes time and patience, consistent practice will lead to impressive results. Start small, explore its features, and soon you’ll be creating animations that showcase your unique creativity. With dedication and experimentation, you’ll be on your way to becoming a skilled Blender animator!
Suggested Read: VFX vs Animation: What Sets Them Apart